Project Supplies
|
|
|
|
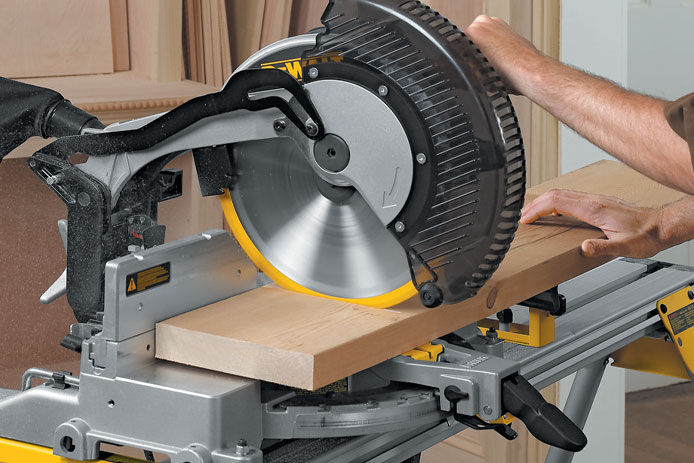
Measure and cut all 8’ board down to 5’ using a miter saw. Take three pieces of the 3’ scraps and cut those down to 22-1/2”. There should be seven 5’ boards total.
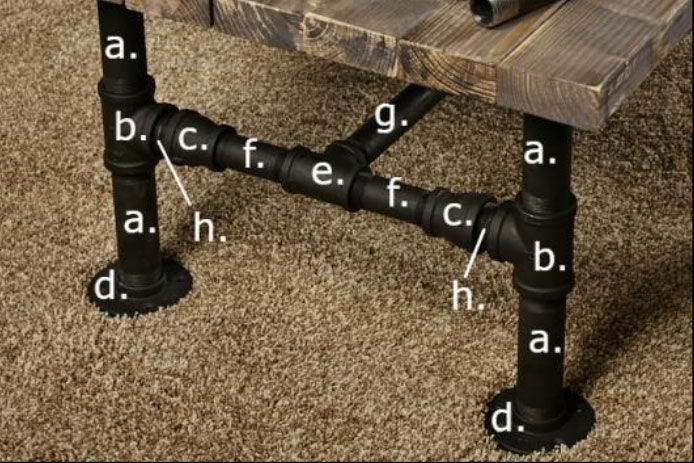
Assemble the pipes together as shown in the picture. While assembling, do not over-tighten. You will want some flexibility to attach to the table top evenly. Assemble A-H twice for both sides of the table.
a. 1-1/4” x 6” Black pipe (Qty. 8)
b. 1-1/4” Black Tee (Qty. 4)
c. 1-1/4” x 1” Black Coupling (Qty. 4)
d. 1-1/4” Black Flange (Qty. 8)
e. 1” Black Tee (Qty. 2)
f. 1” x 4” Black Nipple (Qty. 4)
g. 1” x 48” Black RDI-Cut Pipe (Qty. 1)
h. 1-1/4” Close Black Nipple (Qty. 4)
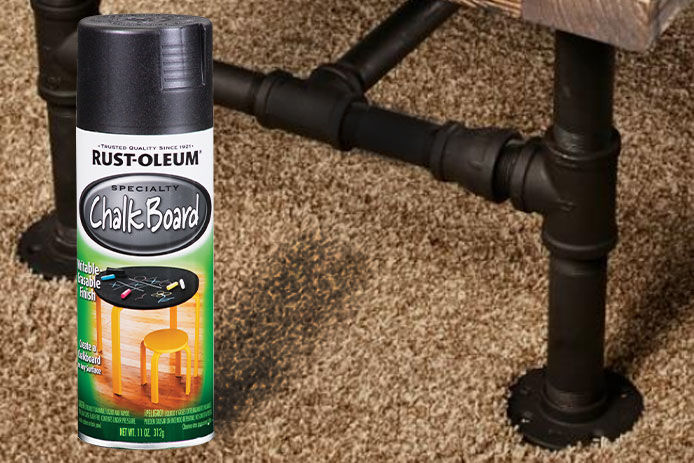
Once you’ve assembled all the pipes together, it’s time to paint it. Spray the entire frame with RustOleum Chalk Board Black Spray Paint for a clean finish. This will also help prevent the pipes from rusting.
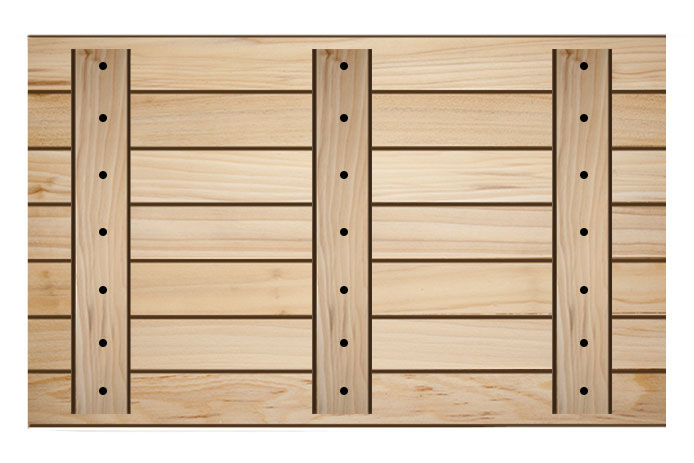
Take all seven of the 5’ boards and lay them next to each other on a clean level surface. Lay three of the 22-1/2” boards perpendicular to the 5’ boards, one in the middle and the other two 6” from the ends of the table. When positioning these boards ensure they are about 1” away from the edges so they are not visible from the top view. Make sure the boards are together tight and flush and screw the braces to the table with 2” screws.

Turn the table top over and use a sander to smooth any rough spots. The rougher you leave the top, the more rustic it will look. Using the chip brush, apply an even coat of the Gray Weathered Wood Accelerator Stain to the entire table, including the bottom. Follow the directions on the can and allow the stain to dry.
(Optional: After stain dries, take the sander back over the wood to allow some lighter wood to show through. This will create a two-tone rustic look.)
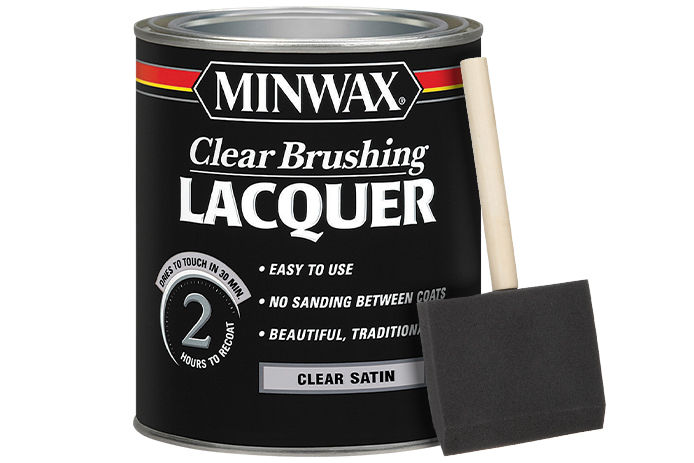
Using the foam brush, apply a coat of the Clear Satin Lacquer and allow this to dry completely according to the can.
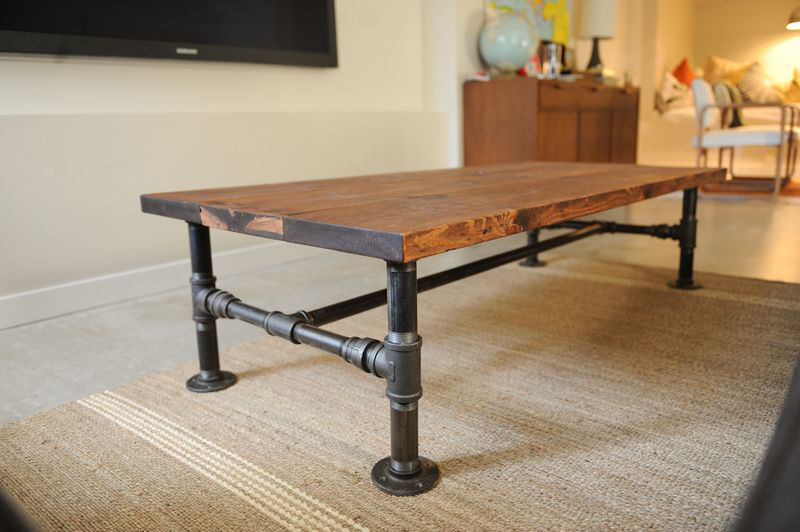
With the top of the table facing down, place the pipe frame on the table to attach it. Position the frame evenly on the wood top (not on the braces). Once you’ve it positioned and it's level, make sure all the pipe connections are secure. Then use 1” screws to attach the flanges to the boards. Turn the table over and enjoy!
Tip: If you’re placing this table on hardwood or tile floor, place felt covers on the bottom of the flanges to prevent any floor damage.
While do-it-yourself projects can be fun and fulfilling, there is always a potential for personal injury or property damage. We strongly suggest that any project beyond your abilities be left to licensed professionals such as electricians, plumbers, and carpenters. Any action you take upon the information on this website is strictly at your own risk, and we assume no responsibility or liability for the contents of this article.